文章目录[隐藏]
一、前提准备
- 源码下载
https://github.com/ultralytics/yolov5 - YOLOv5 文档:
https://docs.ultralytics.com/ - yolo v5原理:
深入浅出Yolo系列之Yolov5核心基础知识完整讲解
官方操作指南:
https://github.com/ultralytics/yolov5/blob/master/tutorial.ipynb
二、下载代码及配置环境
linux可以使用下面命令进行环境配置,当然如果是windows下,直接下载压缩包,解压即可。
git clone https://github.com/ultralytics/yolov5  # clone repo
cd yolov5
pip install -qr requirements.txt  # install dependencies
其中requirements.txt 中包含了必要的配置环境:
基本如下:
python>=3.6
torch>=1.7.0
如果你有英伟达的显卡,可以安装GPU版本的Pytorch,参考:
pytorch安装及卸载
测试环境是否配置成功:
import torch
from IPython.display import Image, clear_output  # to display images

print(torch.__version__)
print(torch.cuda.is_available())
clear_output()
print(f"Setup complete. Using torch {torch.__version__} ({torch.cuda.get_device_properties(0).name if torch.cuda.is_available() else 'CPU'})")
三、下载预训练模型
到yolo官方github下载四个版本的模型,模型下载,
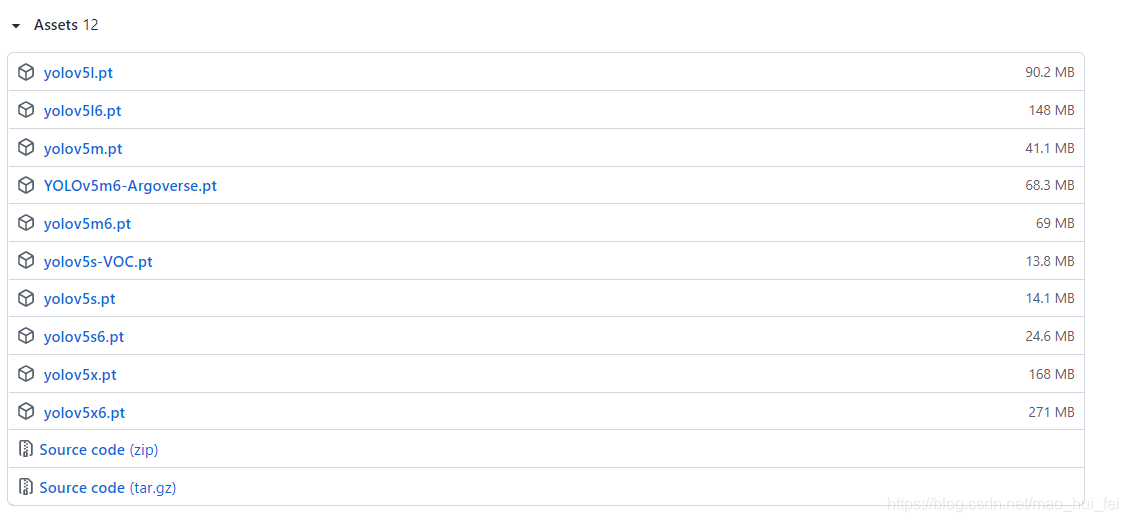
将模型下载到与detect.py同目录下。
四、预测
摄像头实时检测
python detect.py --source 0 --weights weights/yolov5s.pt
检测单张图片
python detect.py --source file.jpg # image
检测本地视频
python detect.py --source file.mp4 # video
其他检测
 python detect.py --source   path/  # directory
 python detect.py --source   path/*.jpg  # glob
 python detect.py --source   'https://youtu.be/NUsoVlDFqZg'  # YouTube video
 python detect.py --source   'rtsp://example.com/media.mp4'  # RTSP, RTMP, HTTP stream
指定某个模型
python detect.py --weights yolov5s.pt  # P5 models
                           yolov5m.pt
                           yolov5l.pt
                           yolov5x.pt
五、训练
数据集准备
参考:https://blog.csdn.net/weixin_44145782/article/details/113983421
数据集可以放置到任意位置都行。但是要有一定的格式,即images下是图像,labels是yolo格式的标签
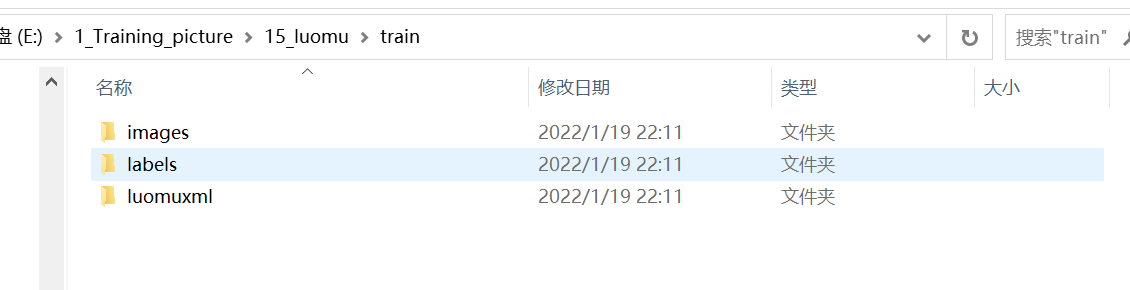
如果不按照上面要求,就会出现下面错误。
AssertionError: train: No labels in data\train.cache. Can not train without
5.1、在data文件夹下新建make_txt.py
注意修改xml文件存放地址
'''
*******************************************************************************
函数名称: ReadImage
描    述: yolov5训练,数据集的准备,从voc数据集xml文件,分为预测训练验证
作    者:狄云
编写时间:2022.01.19
*******************************************************************************/
'''

import os
import random
trainval_percent = 0.1
train_percent = 0.9


#xmlfilepath = 'data/Annotations'
#txtsavepath = 'data/ImageSets'


xmlfilepath = 'E:/1_Training_picture/15_luomu/train/luomuxml'  #xml文件存放地址

if not os.path.exists('ImageSets/'):
    os.makedirs('ImageSets/')

total_xml = os.listdir(xmlfilepath)
num = len(total_xml)
list = range(num)
tv = int(num * trainval_percent)
tr = int(tv * train_percent)
trainval = random.sample(list, tv)
train = random.sample(trainval, tr)
ftrainval = open('ImageSets/trainval.txt', 'w')
ftest = open('ImageSets/test.txt', 'w')
ftrain = open('ImageSets/train.txt', 'w')
fval = open('ImageSets/val.txt', 'w')


for i in list:
    name = total_xml[i][:-4] + '\n'
    if i in trainval:
        ftrainval.write(name)
        if i in train:
            ftest.write(name)
        else:
            fval.write(name)
    else:
        ftrain.write(name)
ftrainval.close()
ftrain.close()
fval.close()
ftest.close()
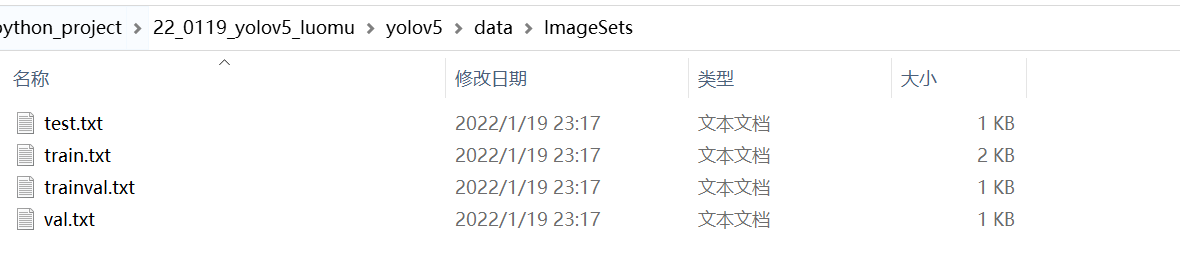
运行以上代码,可以得到的结果是,在ImageSets中有我们的数据集分类:
5.2、在data文件夹创建 voc_label.py 文件,代码如下:
需要注意的是,sets中改为你的sets的名字(make_txt生成的)
classes修改为你需要检测的类别
import xml.etree.ElementTree as ET
import pickle
import os
from os import listdir, getcwd
from os.path import join


sets = ['train', 'test','val']

Imgpath = 'E:/1_Training_picture/15_luomu/train/images'    #图片文件夹
xmlfilepath = 'E:/1_Training_picture/15_luomu/train/luomuxml/'  #xml文件存放地址
ImageSets_path='ImageSets/'
classes = ['w', 'wu', 'y', 's']


def convert(size, box):
    dw = 1. / size[0]
    dh = 1. / size[1]
    x = (box[0] + box[1]) / 2.0
    y = (box[2] + box[3]) / 2.0
    w = box[1] - box[0]
    h = box[3] - box[2]
    x = x * dw
    w = w * dw
    y = y * dh
    h = h * dh
    return (x, y, w, h)
def convert_annotation(image_id):
    in_file = open(xmlfilepath+'%s.xml' % (image_id))
    out_file = open('labels/%s.txt' % (image_id), 'w')
    tree = ET.parse(in_file)
    root = tree.getroot()
    size = root.find('size')
    w = int(size.find('width').text)
    h = int(size.find('height').text)
    for obj in root.iter('object'):
        difficult = obj.find('difficult').text
        cls = obj.find('name').text
        if cls not in classes or int(difficult) == 1:
            continue
        cls_id = classes.index(cls)
        xmlbox = obj.find('bndbox')
        b = (float(xmlbox.find('xmin').text), float(xmlbox.find('xmax').text), float(xmlbox.find('ymin').text),
             float(xmlbox.find('ymax').text))
        bb = convert((w, h), b)
        out_file.write(str(cls_id) + " " + " ".join([str(a) for a in bb]) + '\n')
wd = getcwd()
print(wd)
for image_set in sets:
    if not os.path.exists('labels/'):
        os.makedirs('labels/')
    image_ids = open(ImageSets_path+'%s.txt' % (image_set)).read().strip().split()
    list_file = open('%s.txt' % (image_set), 'w')
    for image_id in image_ids:
        list_file.write(Imgpath+'/%s.jpg\n' % (image_id))
        convert_annotation(image_id)
    list_file.close()
运行以上代码后,可以发现生成了voc格式的标签文件labels(显示数据集的具体标注数据),并且在data文件下出现了train、val、test的txt文件,保存了图片的路径。(带有图片的路径)

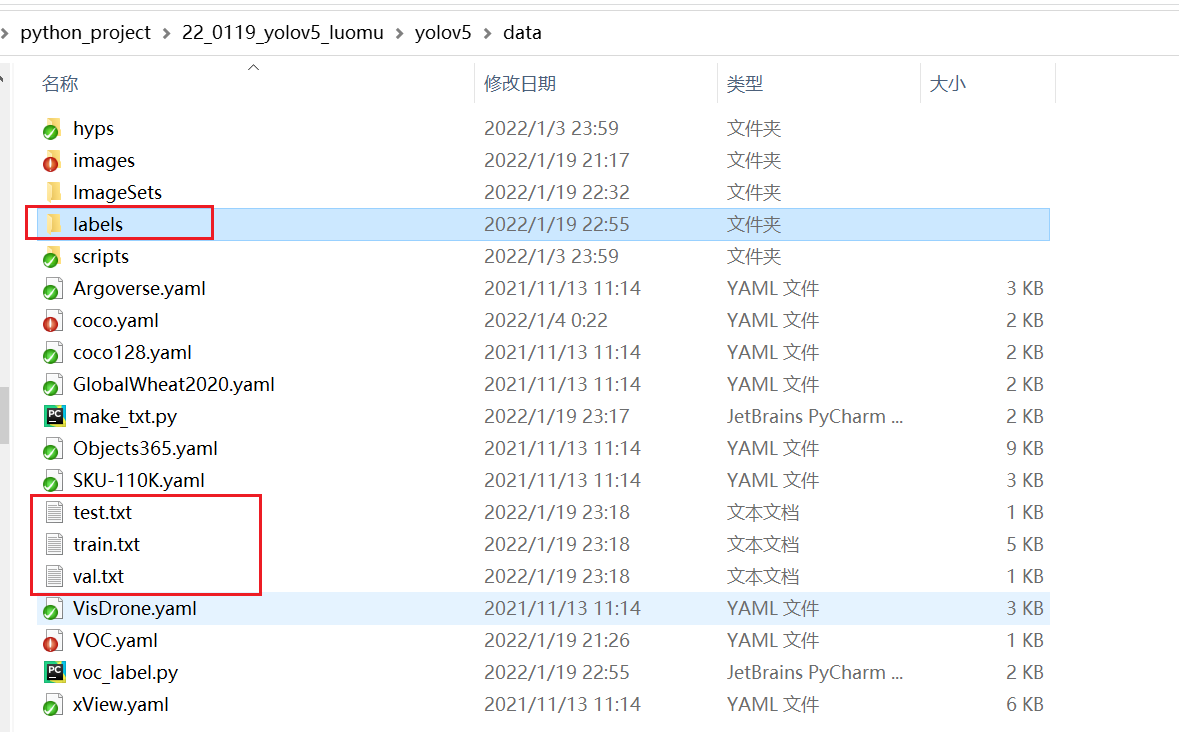

将label复制到图像位置同级目录下即可。
至此,我们的数据集就全部做完啦!!!~~
5.3、修改配置文件mytrain.yaml
修改coco.yaml文件
这里的yaml和以往的cfg文件是差不多的,但需要配置一份属于自己数据集的yaml文件。
复制data目录下的coco.yaml,我这里命名为fish.yaml
主要修改三个地方:
train: ./data/train.txt  # voc_annotation.py生成的train.txt的路径
val: ./data/val.txt   # voc_annotation.py生成的val.txt的路径
test: ./data/test.txt   # voc_annotation.py生成的val.txt的路径

nc: 4  #训练的种类

# class names训练的类别
names: ['w', 'wu', 'y', 's']
- 修改train,val,test的路径为自己刚刚生成的路径
- nc 里的数字代表数据集的类别,我这里有一类,所以修改为4
- names 里为自己数据集标注的类名称
5.4、开始训练
python train.py --data data/mytrain.yaml --cfg models/yolov5x.yaml --weights weights/yolov5x.pt
数据读取成功

六、可能遇到的问题
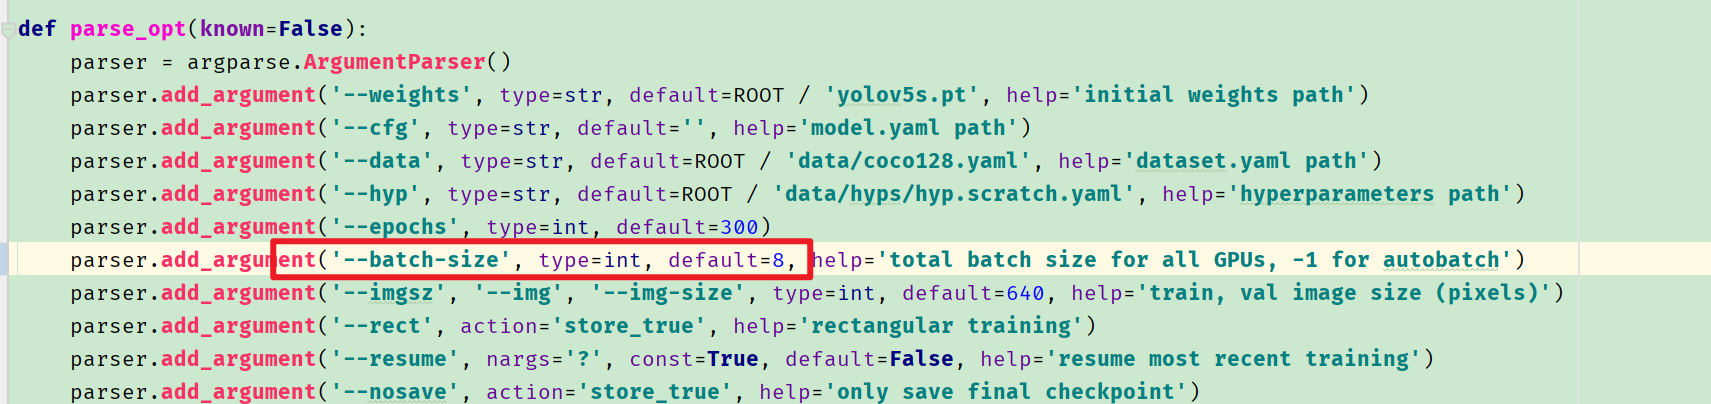
问题1:CUDA out of memory
RuntimeError: CUDA out of memory. Tried to allocate 126.00 MiB (GPU 0; 6.00 GiB total capacity; 3.71 GiB already allocated; 52.99 MiB free; 3.99 GiB reserved in total by PyTorch)
修改batch-size.我从默认16改成了8
版权声明:本文为CSDN博主「翟羽嚄」的原创文章,遵循CC 4.0 BY-SA版权协议,转载请附上原文出处链接及本声明。
原文链接:https://blog.csdn.net/mao_hui_fei/article/details/119331147


